
FLOURLESS AMAZING PEANUT BUTTER COOKIES
Okay guys, this is my go-to peanut butter cookies recipe. It is so easy and quick to make and oh so delicious. The added plus is it's flourless. Trust me once you try this recipe it will be your go-to recipe as well. Let's get started!
Things you will need:
Mixer or Stand Mixer
Cookie Sheet
Measuring cups
Baking Spatula
1 egg at room temperature
1 cup of creamy peanut butter
1/4 cup of brown sugar
1/2 cup white sugar
Salt
Opt: Vanilla Extract
Recipe Yields 12 cookies
1. Get a cookie sheet and grease it. I normally grease cookie sheets regardless if they are nonstick or not. You can use butter, flour or some good ol' fashion PAM spray, although any nonstick spray will do!


2. Pre-heat your oven. We are going to preheat the oven to 350 degrees F.

3. While the oven is preheating we are going to gather all our ingredients together and get our equipment out. We are going to need one egg, 1/2 cup of white sugar, 1/4 cup of brown sugar, 1 cup of creamy peanut butter and a pinch of salt. If you would like you can also get a teaspoon of vanilla extract to add. I highly recommend you use a mixer or stand mixer instead of just a whisk to make your life much easier. I used my KitchenAid stand mixer with the paddle attachment.


5. Add the one egg and a pinch of salt and make sure you scrape down before you start mixing again. Also if you are adding vanilla extract to this recipe, this would be the time to add it. Just add a teaspoon. This time we want to mix on medium speed for a good minute and then turn it up to high for a good minute or two. We want to make sure that the egg is incorporated and the mixture get more of a dough texture. Don't fear over mixing because there is no flour in these babies!


This is how it should look like when done mixing.

6. Now with the dough done we need to shape the cookies. What you need to do is wet your hands a tiny bit and then start grabbing from the dough and start shaping them into little balls as seen below. Don't worry if they're not exact, trust me it won't matter.

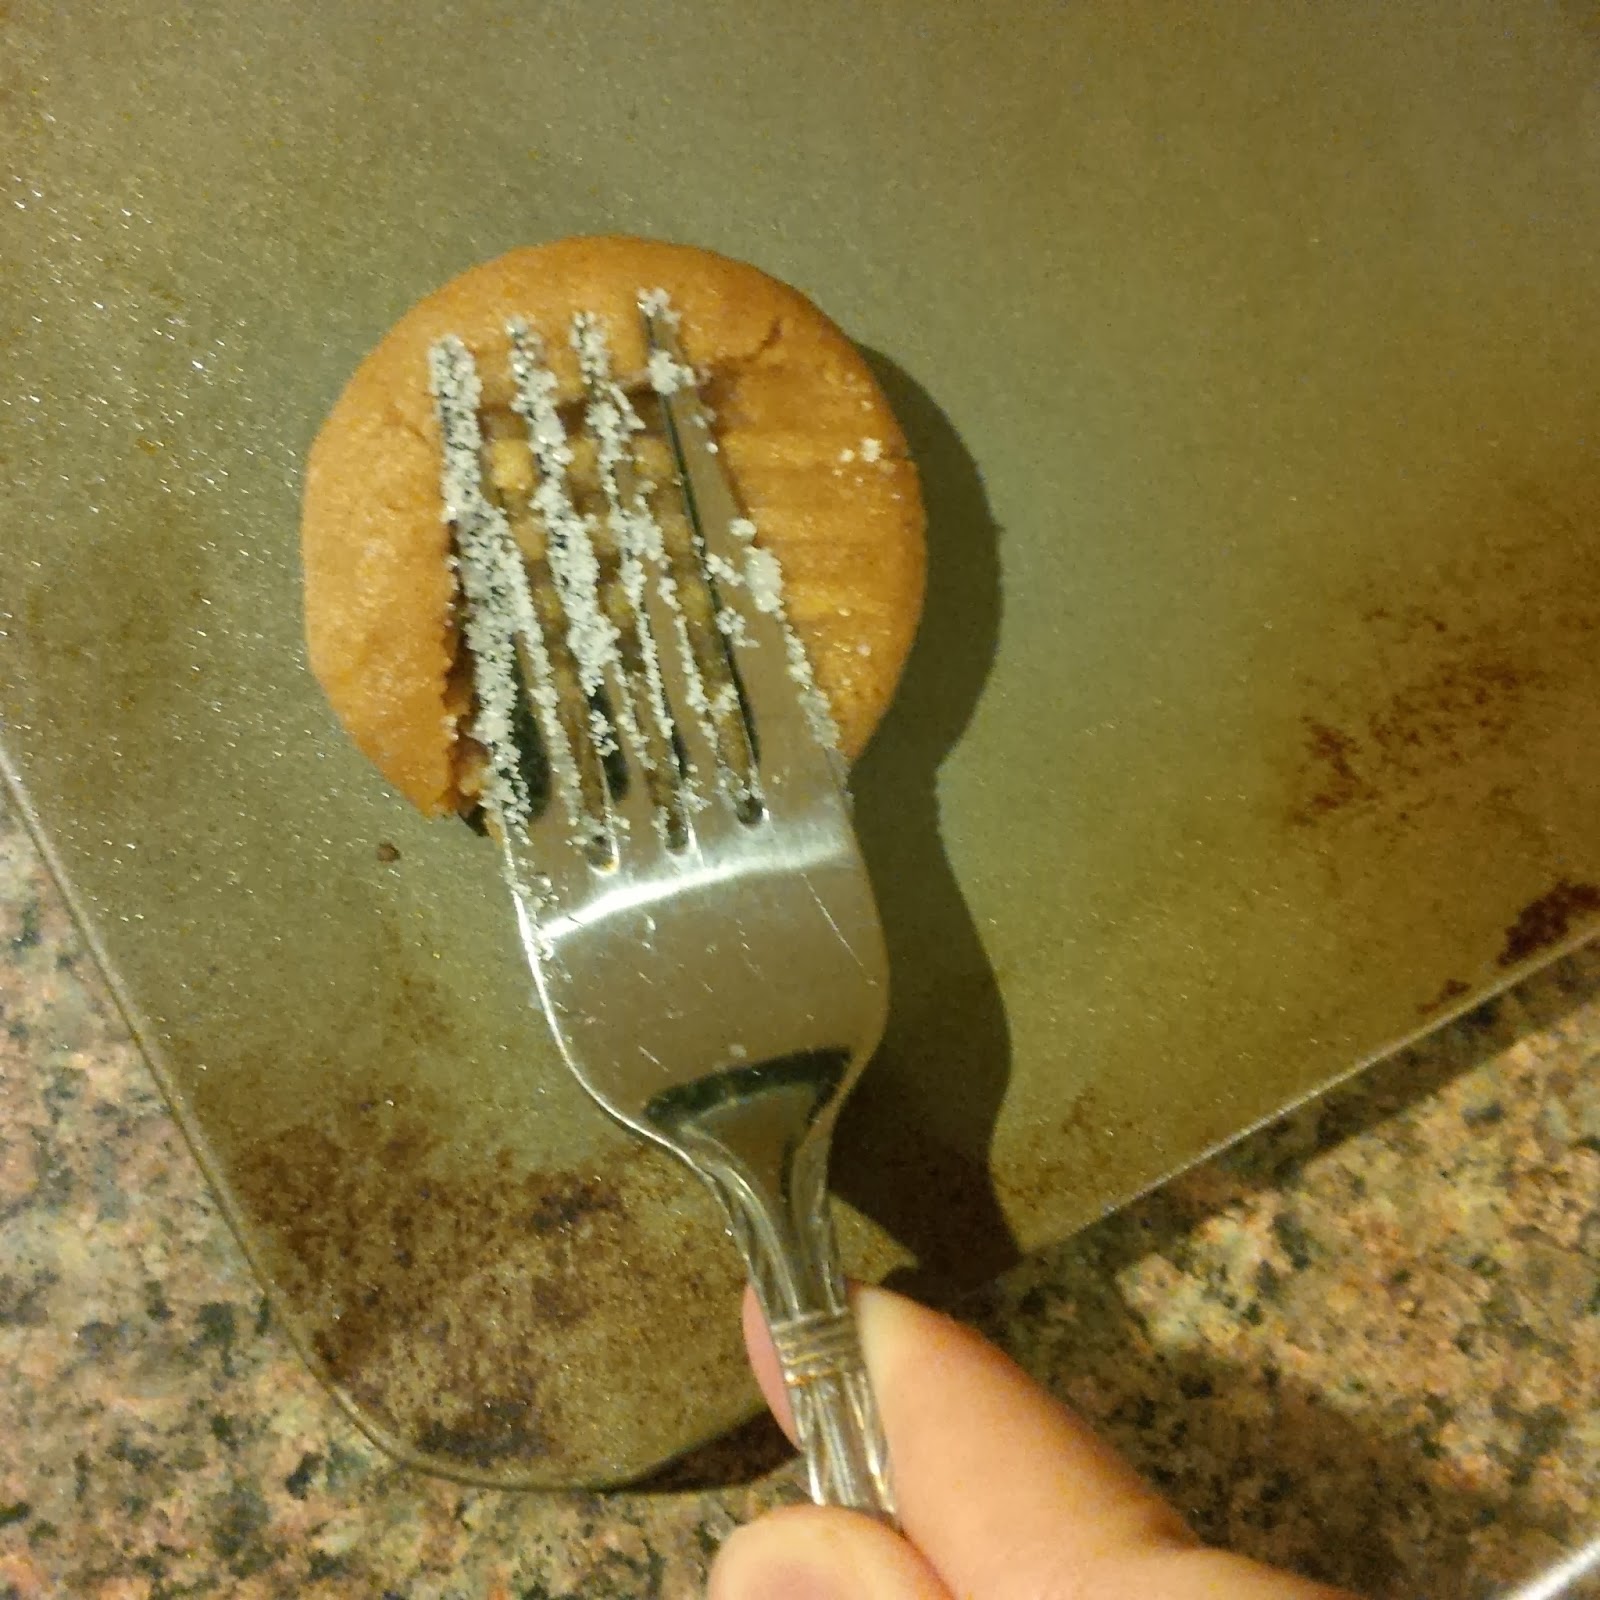
7. Now we need to get a fork with some sugar on the back. Just wet it a little to make sure the sugar sticks. This is going to be our magical tool to give the cookies their iconic trademark.

8. We're going to add the crisscross shape to the cookies. Simply start with one side and then the other. You don't want to use too much force, but enough to push the cookie down slightly. Make sure you only use the points of the fork not the entire fork.


All done with that step, look at those beauties :)

9. Now they're ready to go into the oven. We're going to bake them for exactly 10 minutes. Set a timer if you have one.

10. Pull them out when done and make sure you leave them on the sheet for 5 more minutes. This step is critical in the cookie making process. You can not take hot cookies off a cookie tray. Trust me it will not work. Be patient and leave them on there.


11. After 5 minutes, they will be ready to take off the sheet. You can then put it on any plate you have. Allow them to cool done for 10 minute or eat them right away, either is fine.

Nothing better than some milk and cookies!!


Easy and deliciously chewy and moist. This is awesome. You HAVE to try it. You will not regret it. Enjoy!

No comments:
Post a Comment